Beat Making: How to Make a Beat in 6 Steps

Everyone`s making beats these days.
It’s no surprise—beat making is an incredibly fun and rewarding pastime that, with practice, can even become your livelihood.
- What is beat making?
- Get essential beat making tools
- The sounds your beat will use
- Find the right samples
- Arrange your beat into a song
- Production techniques to clean your mix
- Finishing your 1st beat
- Fight beat block
Getting started with beat making isn’t hard, in fact most of the concepts we’re going to cover in this article are super easy to understand and start using in your music productions.
Even though the concepts are simple, there’s lots of different things to know as you move through the process of finishing your first beat.
This article is a jumping off point for your beat making journey, I’ll walk you through the basics of everything you need to know about starting and finishing your first beat.
By the end you know what tools and software you need, what instrumentation to consider, sampling advice, arrangement tips, production tricks and much more.
Theory guides, production tips, new free plugins, gear guides and more—delivered weekly
Keep up with the LANDR Blog.
What is beat making?
Beat making is a form of music production that almost entirely uses digital tools to create a final piece of music. Rather than relying on live instrumentalists and vocalists, beat makers will turn to samples, hardware and software to create their music.
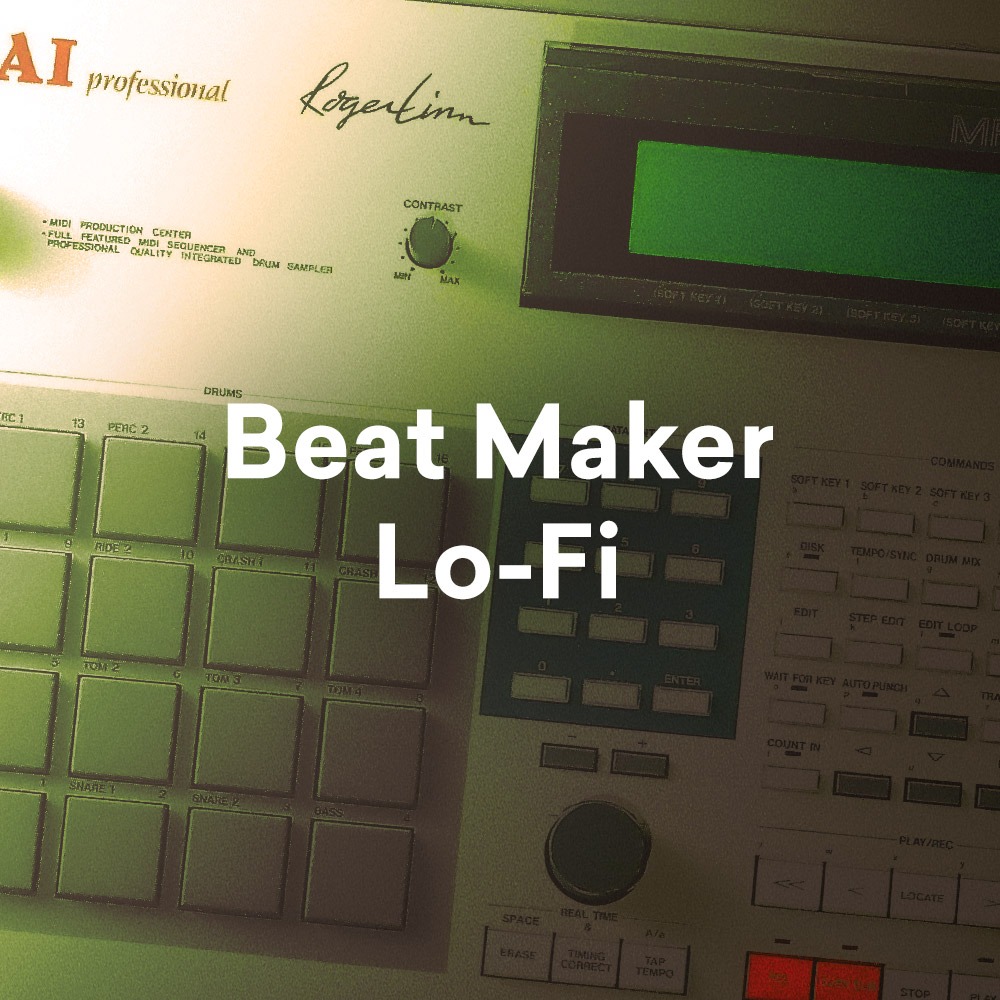
Beat makers typically are known for working within genres like hip-hop, trap, electronic, lo-fi and even R&B.
However, beat making uses so many different facets of music production that many beat makers draw on production techniques in pretty much every genre.
To put it bluntly, if you want to be a music producer, chances are you’ll start off making beats. It’s the perfect way to learn everything you need to know about music production.
With that out of the way, let’s dive into everything you need to start making your first beat.

Johnny shares his thoughts on beating beat block.
Step 1: Get essential beat-making tools
If you want to make a beat you’ll need some software to help you get started.
It doesn’t matter what your budget is, even if you want to only use free tools, there’s something out there for you.
Of course, at every price point you’ll get certain features and functionality that don’t exist in free software.
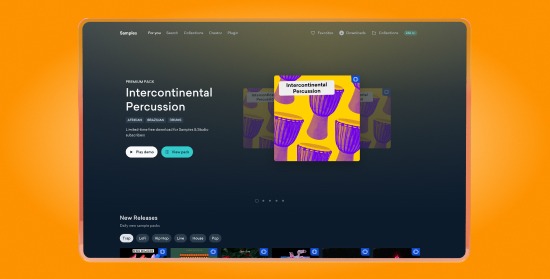
There’s even some online beat making tools that make it easy to create music in your browser or on your smartphone. Our favorite is Creator—the free beat maker for LANDR Samples.
No matter what, there’s a few essential tools you’ll need to create your first beat—a DAW, a MIDI controller and some plugins to help hone your sound.
Beat making software
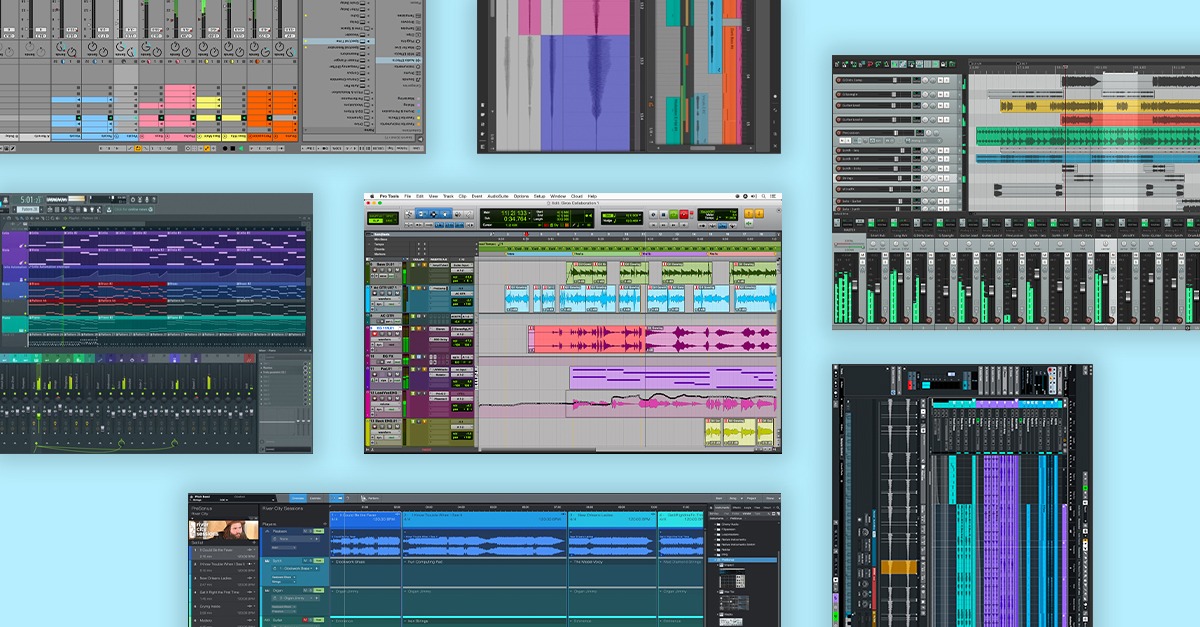
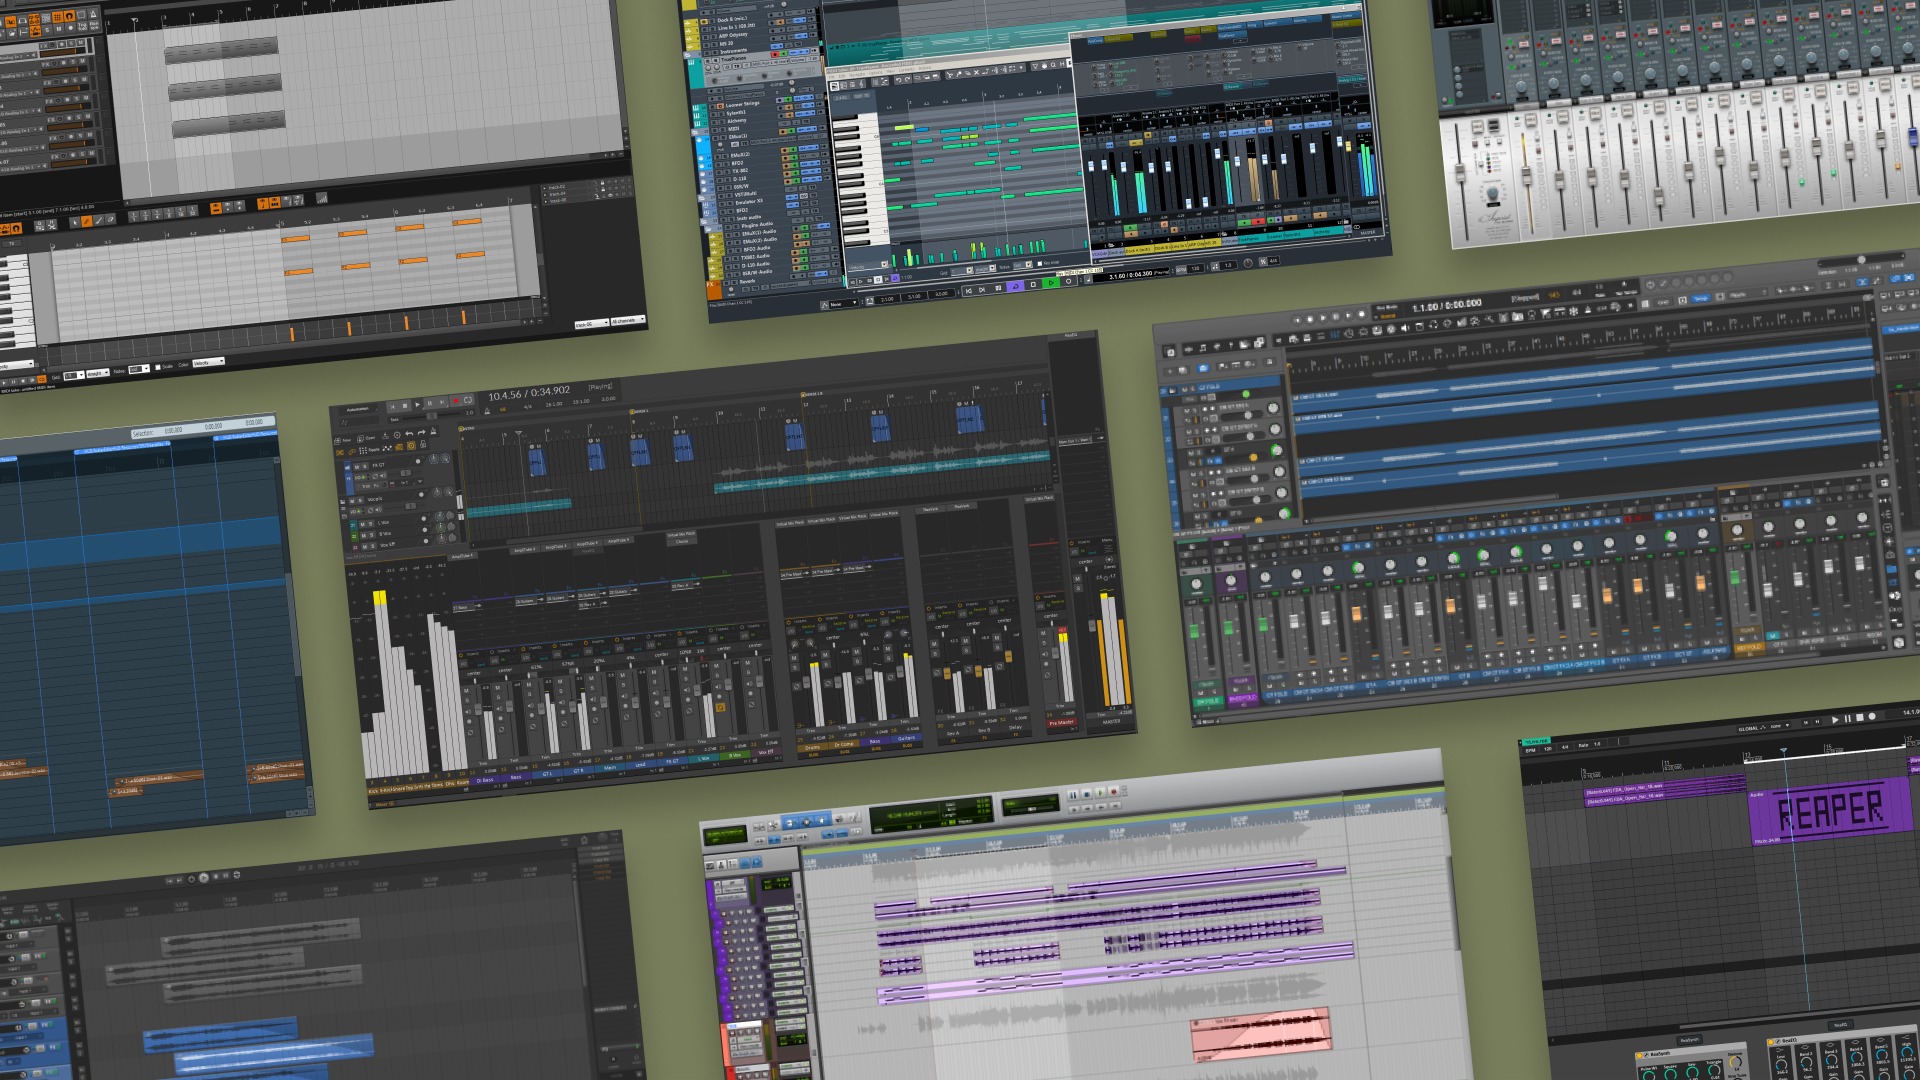
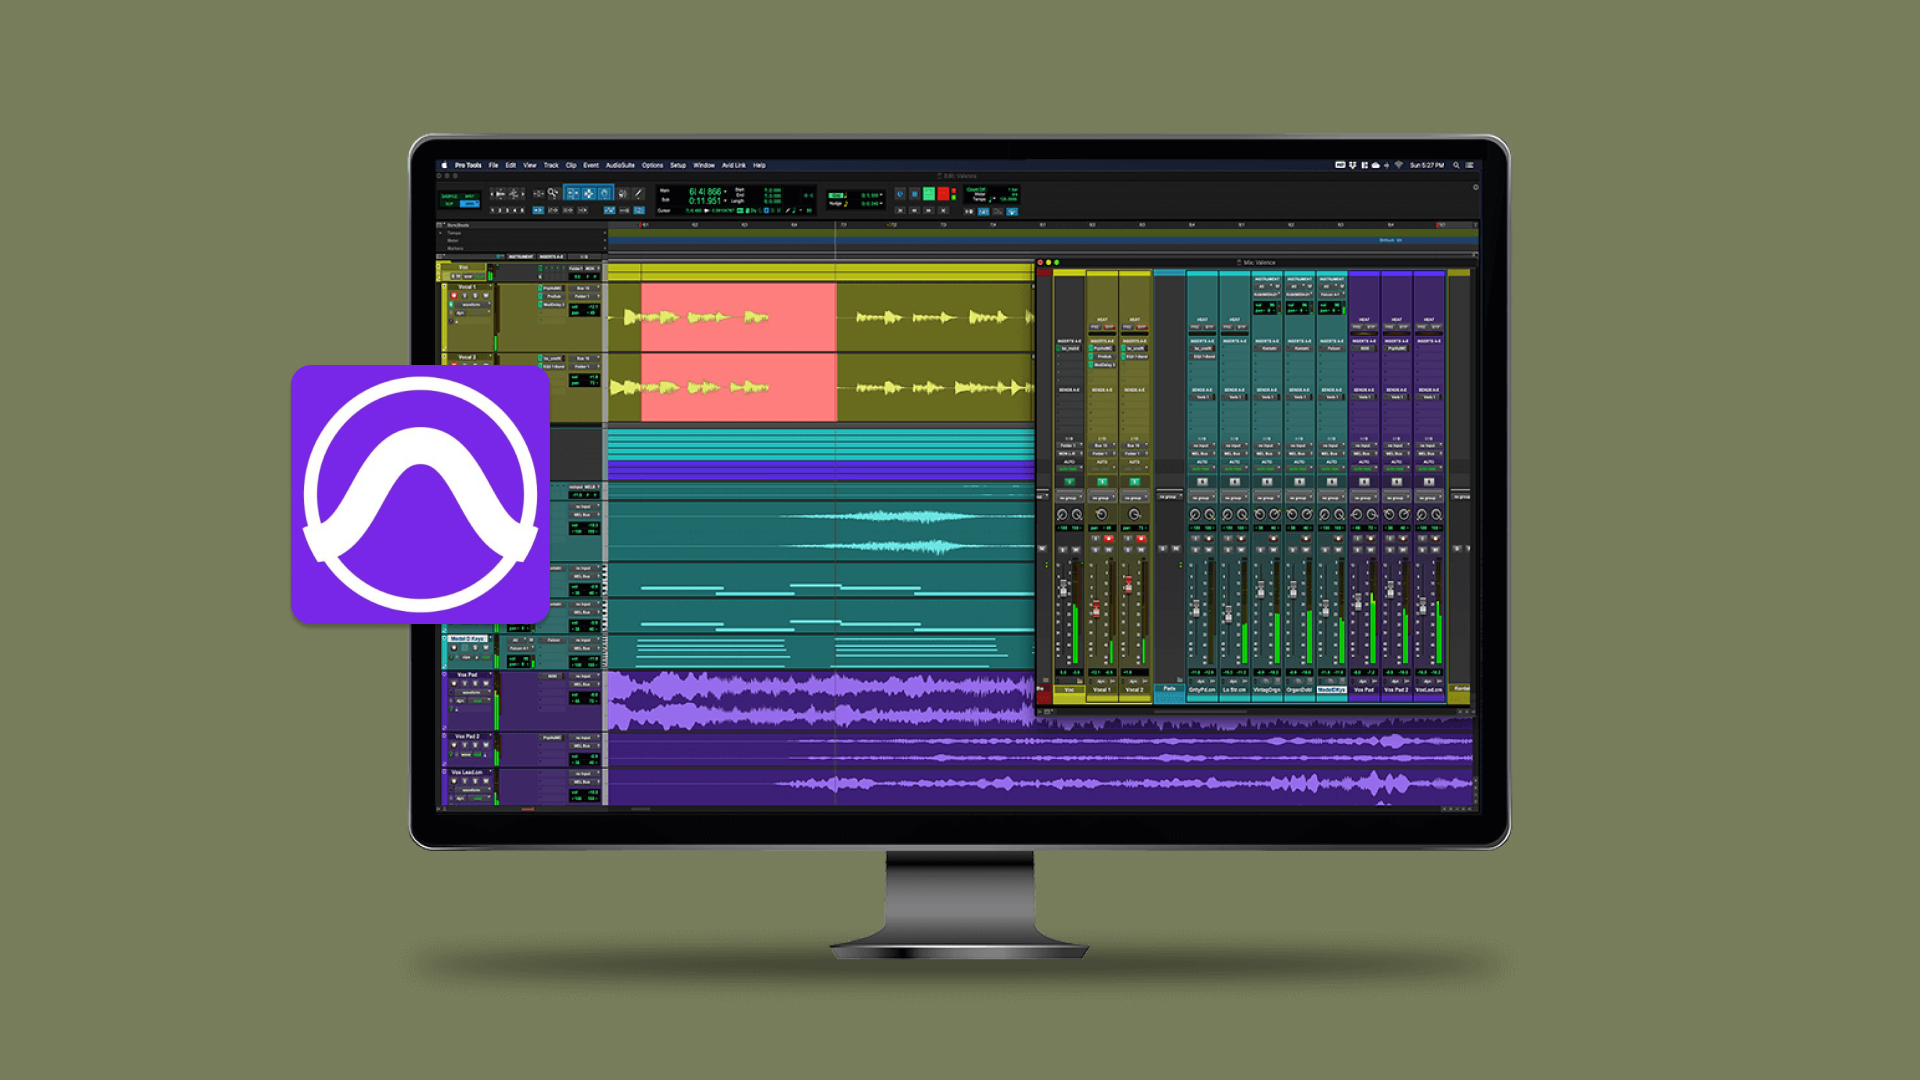
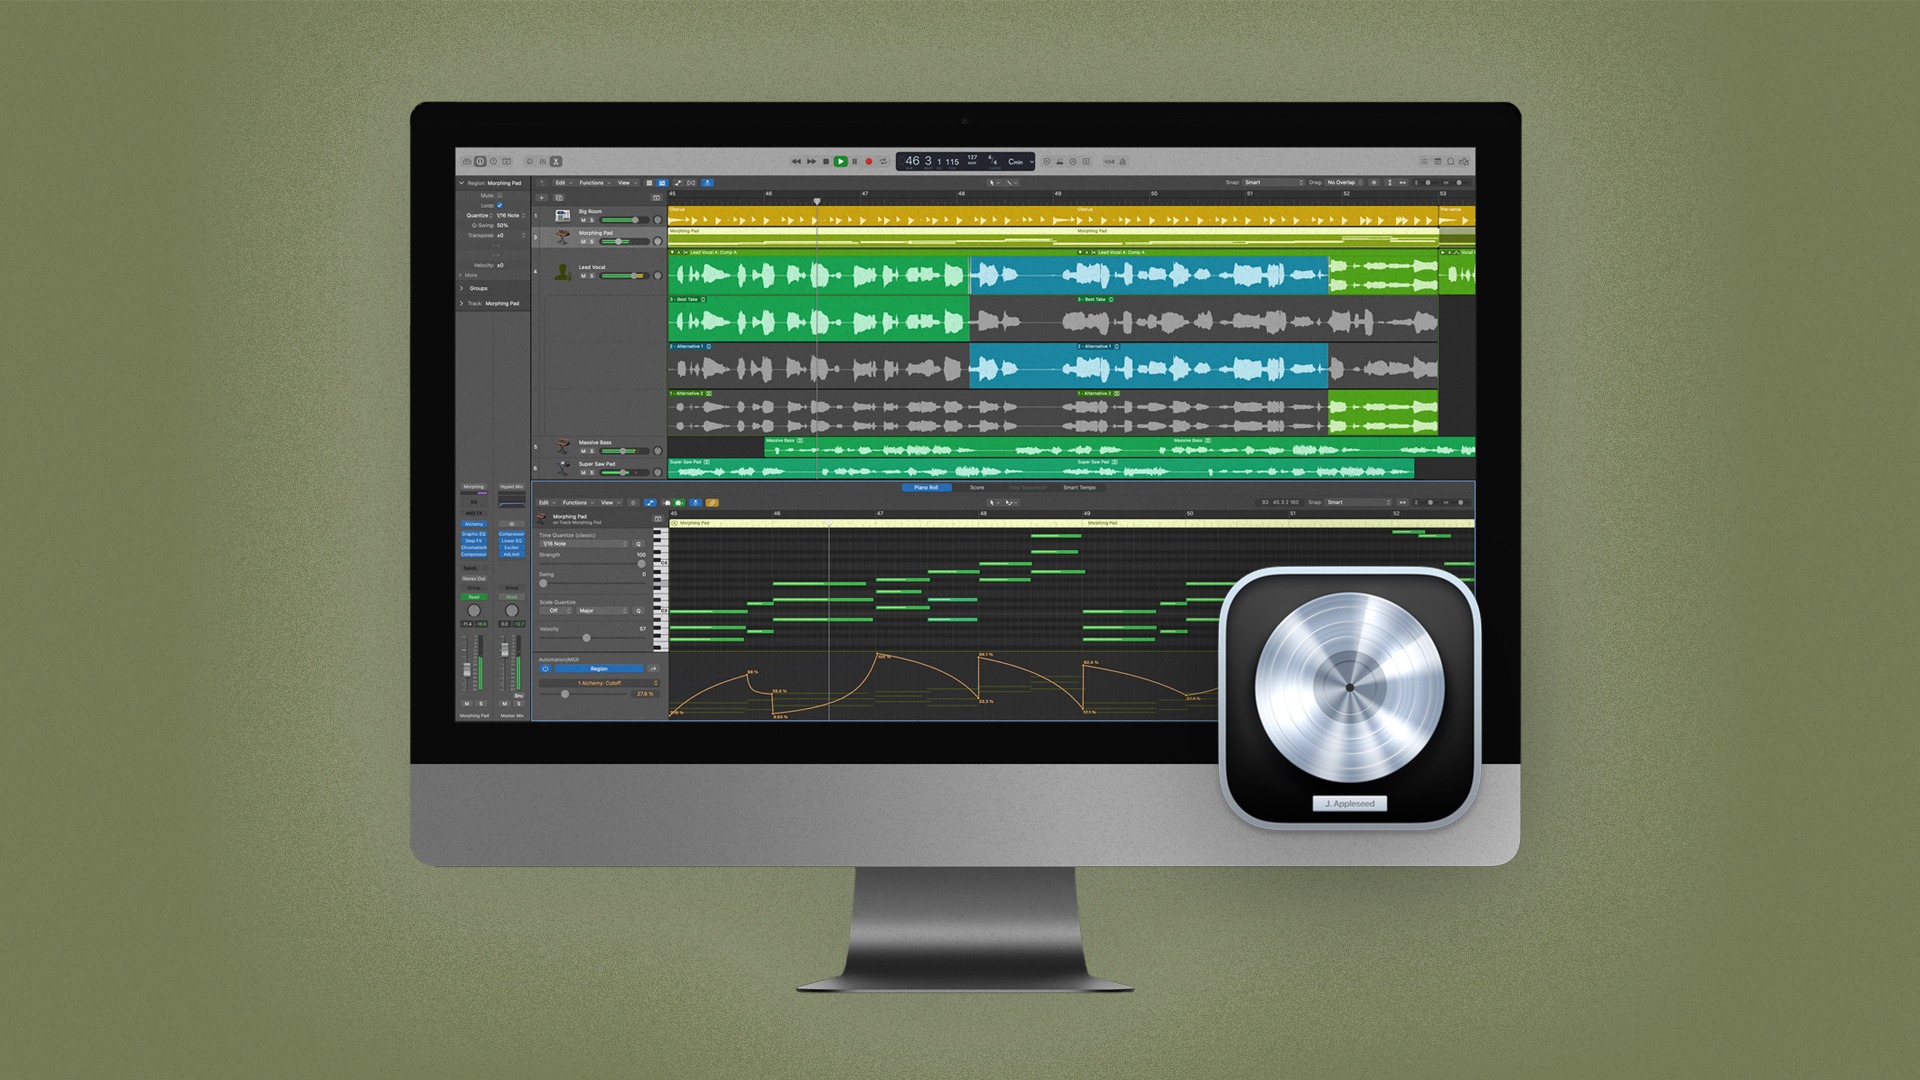
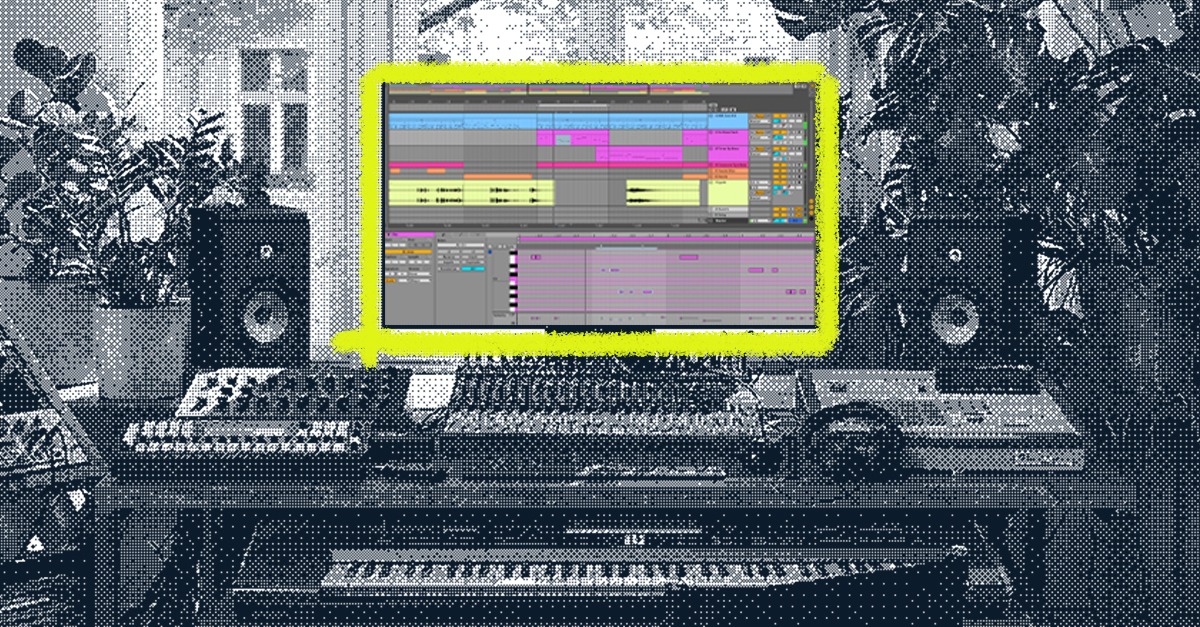
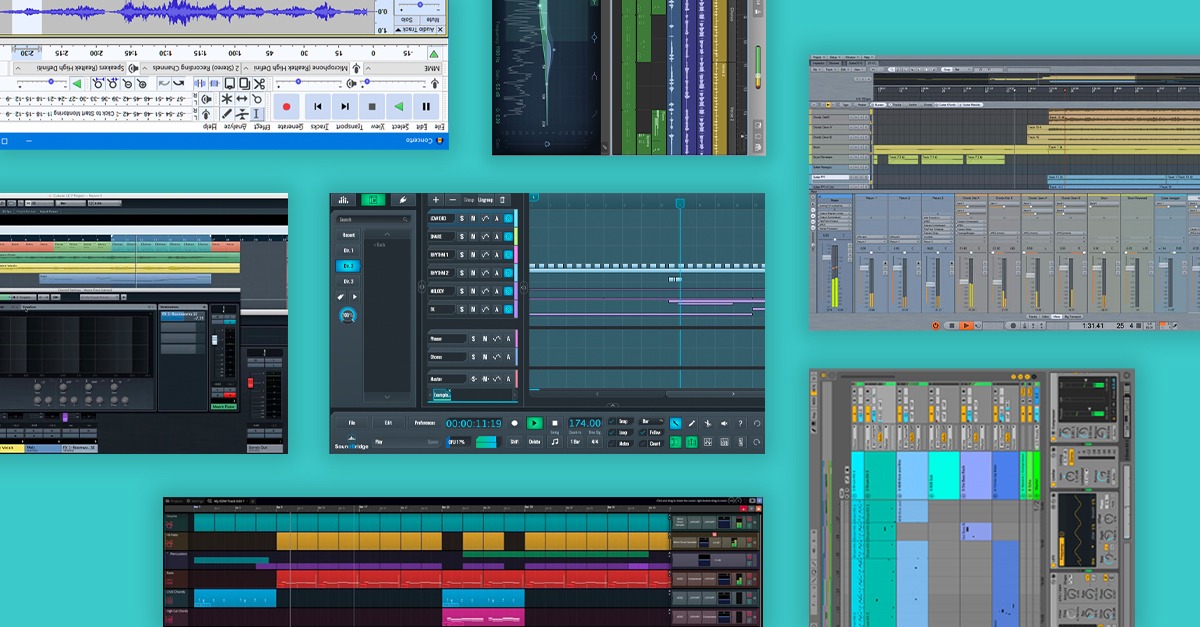
You’re probably best off starting your first beat in a digital audio workstation or DAW. So pick out a DAW that works for your needs and budget.
There’s free DAWs with limited functionality and paid DAWs that come at various price points that are geared towards certain kinds of users.
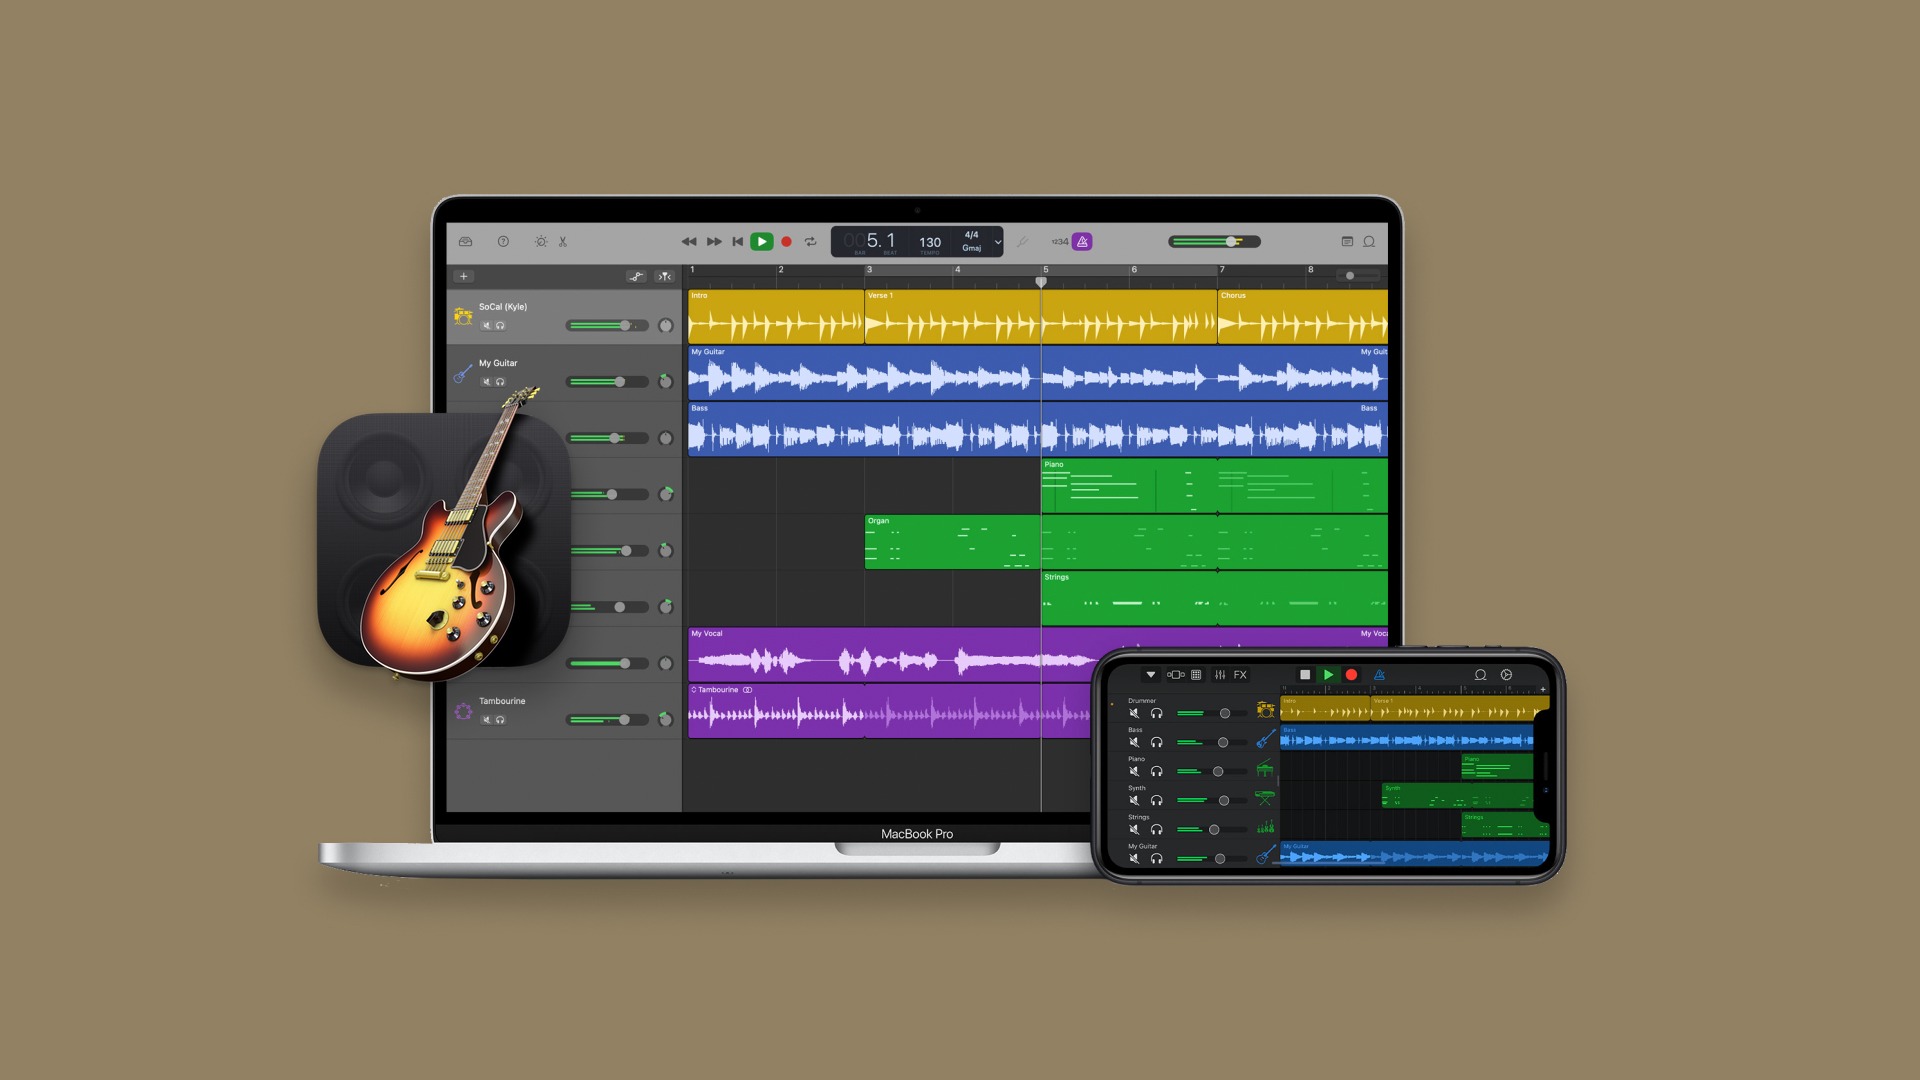
If you don’t want to spend a dime I’d recommend looking at either GarageBand if you’re a Mac user and Reaper if you’re a Windows user.
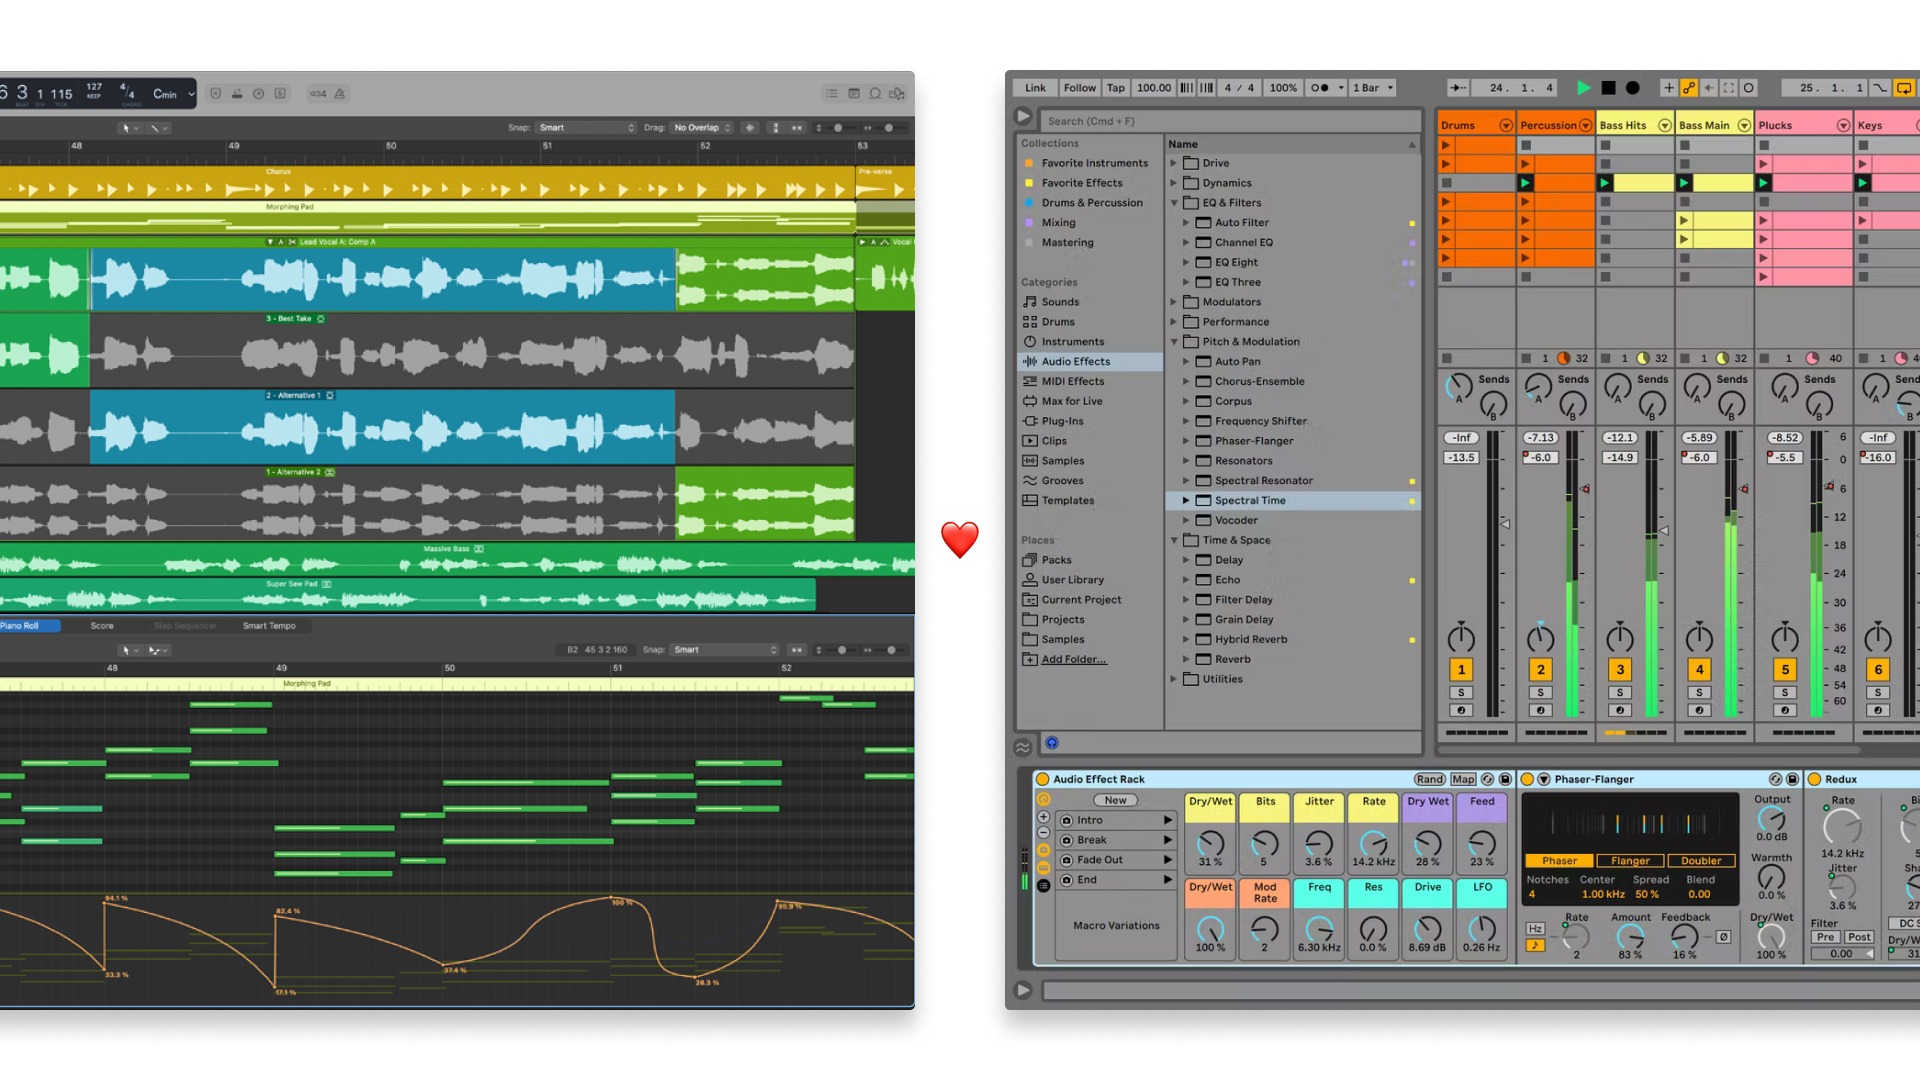
If you’re ready to get a premium DAW, Ableton and FL Studio are two DAWs that are user friendly platforms geared towards the creative aspects of music production and beat making.
Everything you need to know about DAWs
Learn about DAWs and find the best one for you.

Beat making hardware
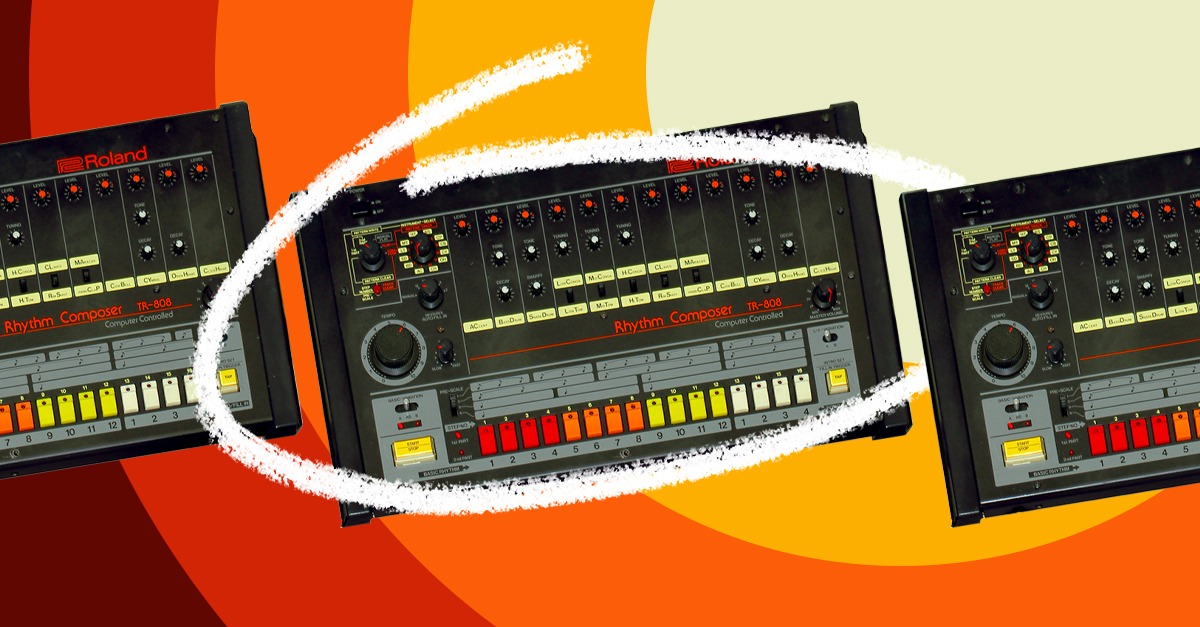
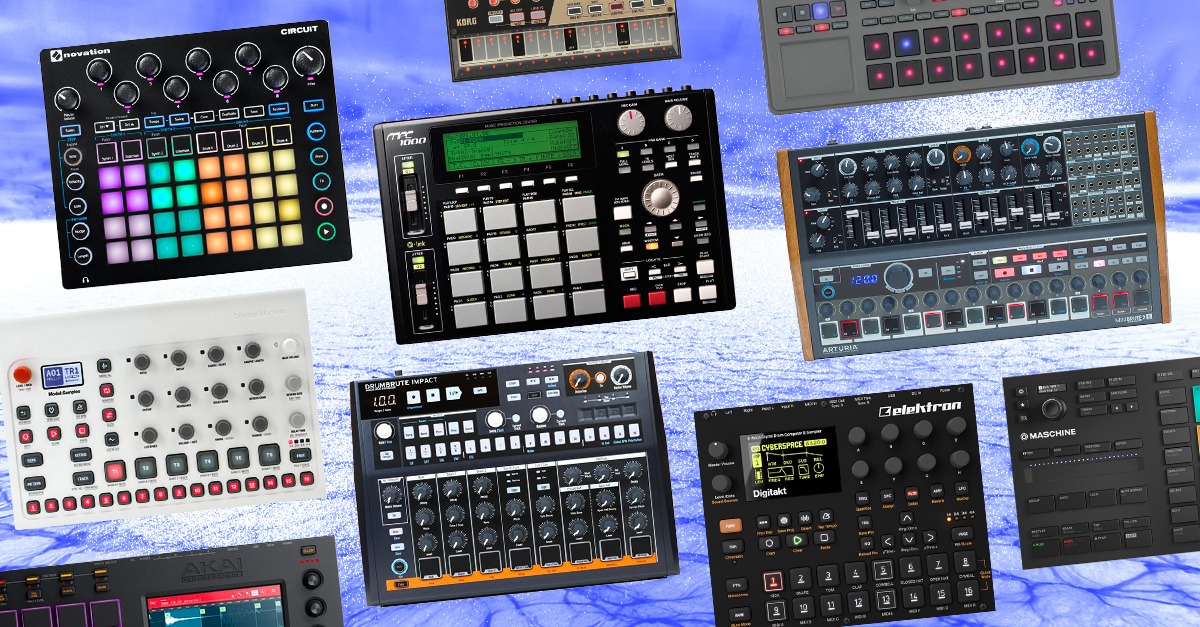
You don’t need to buy a lot of hardware to make beats—even if it’s super tempting to drop ridiculous amounts of money on MPCs and other grooveboxes.
I personally own a Digitakt, a really cool hardware sampler that’ll let you craft entire beats outside of the DAW—I own one because I found a good deal and was ready to spend on it.
But, with less than $100 you can get all the hardware you need to make a great beat.
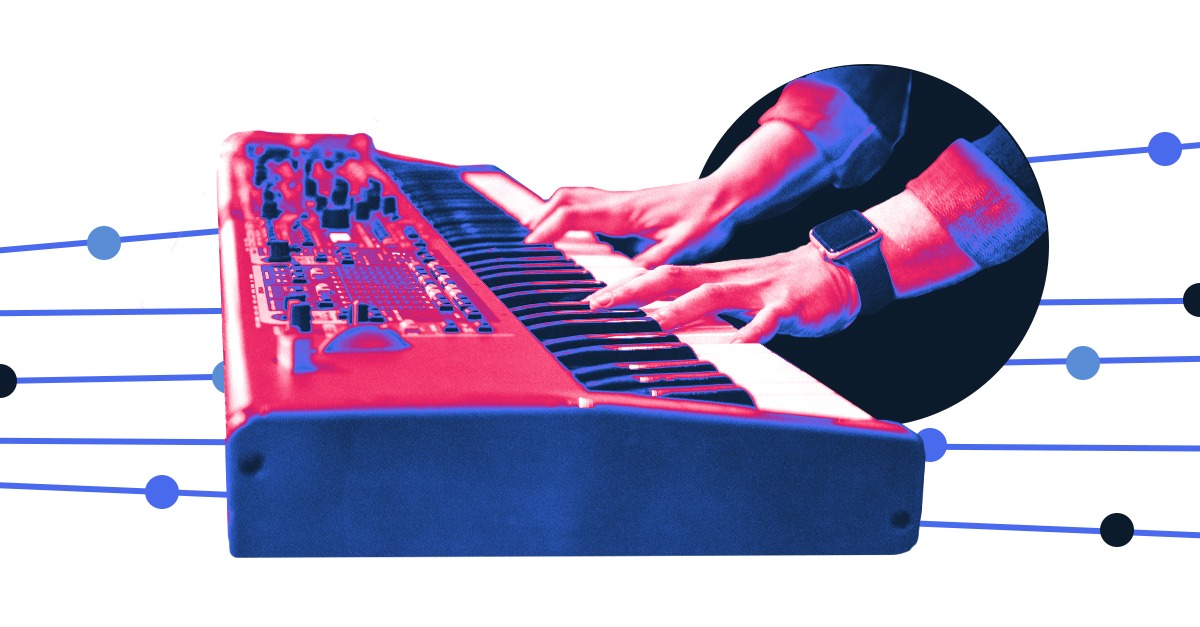
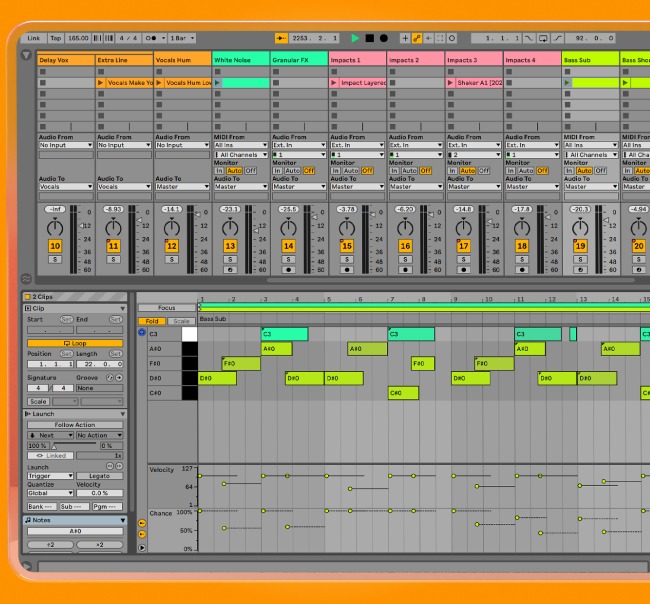
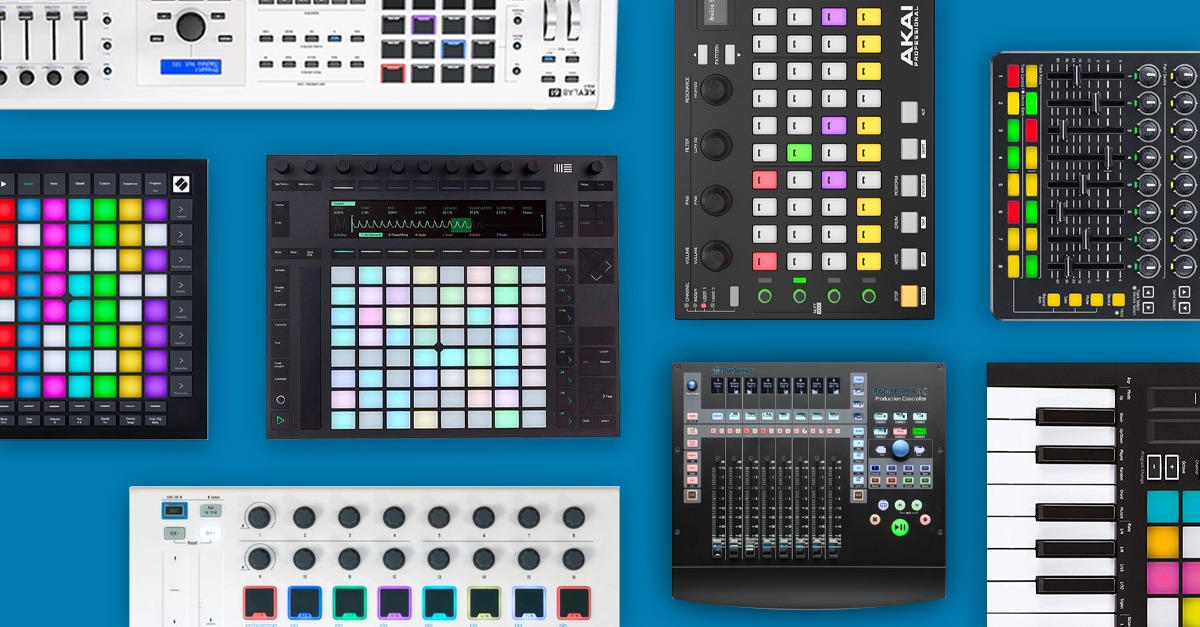
Mainly you need to pick up a DAW controller with a set of finger pads for drums, keys for basslines, chords and melodies and knobs to control effects parameters.
We’ve covered the best DAW controllers in past articles but my quick recommendation is to pick up either an Arturia Minilab, a Novation LaunchKey MINI or an AKAI MPK Mini.
All you have to do is map your controller in whatever DAW you’re using and you’ll be able to control your software similarly to all the expensive beat making hardware out there.
Essential beat-making plugins
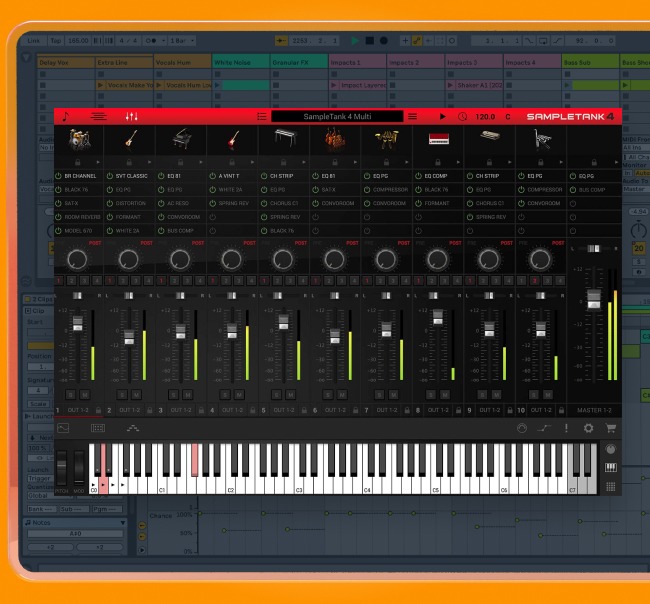
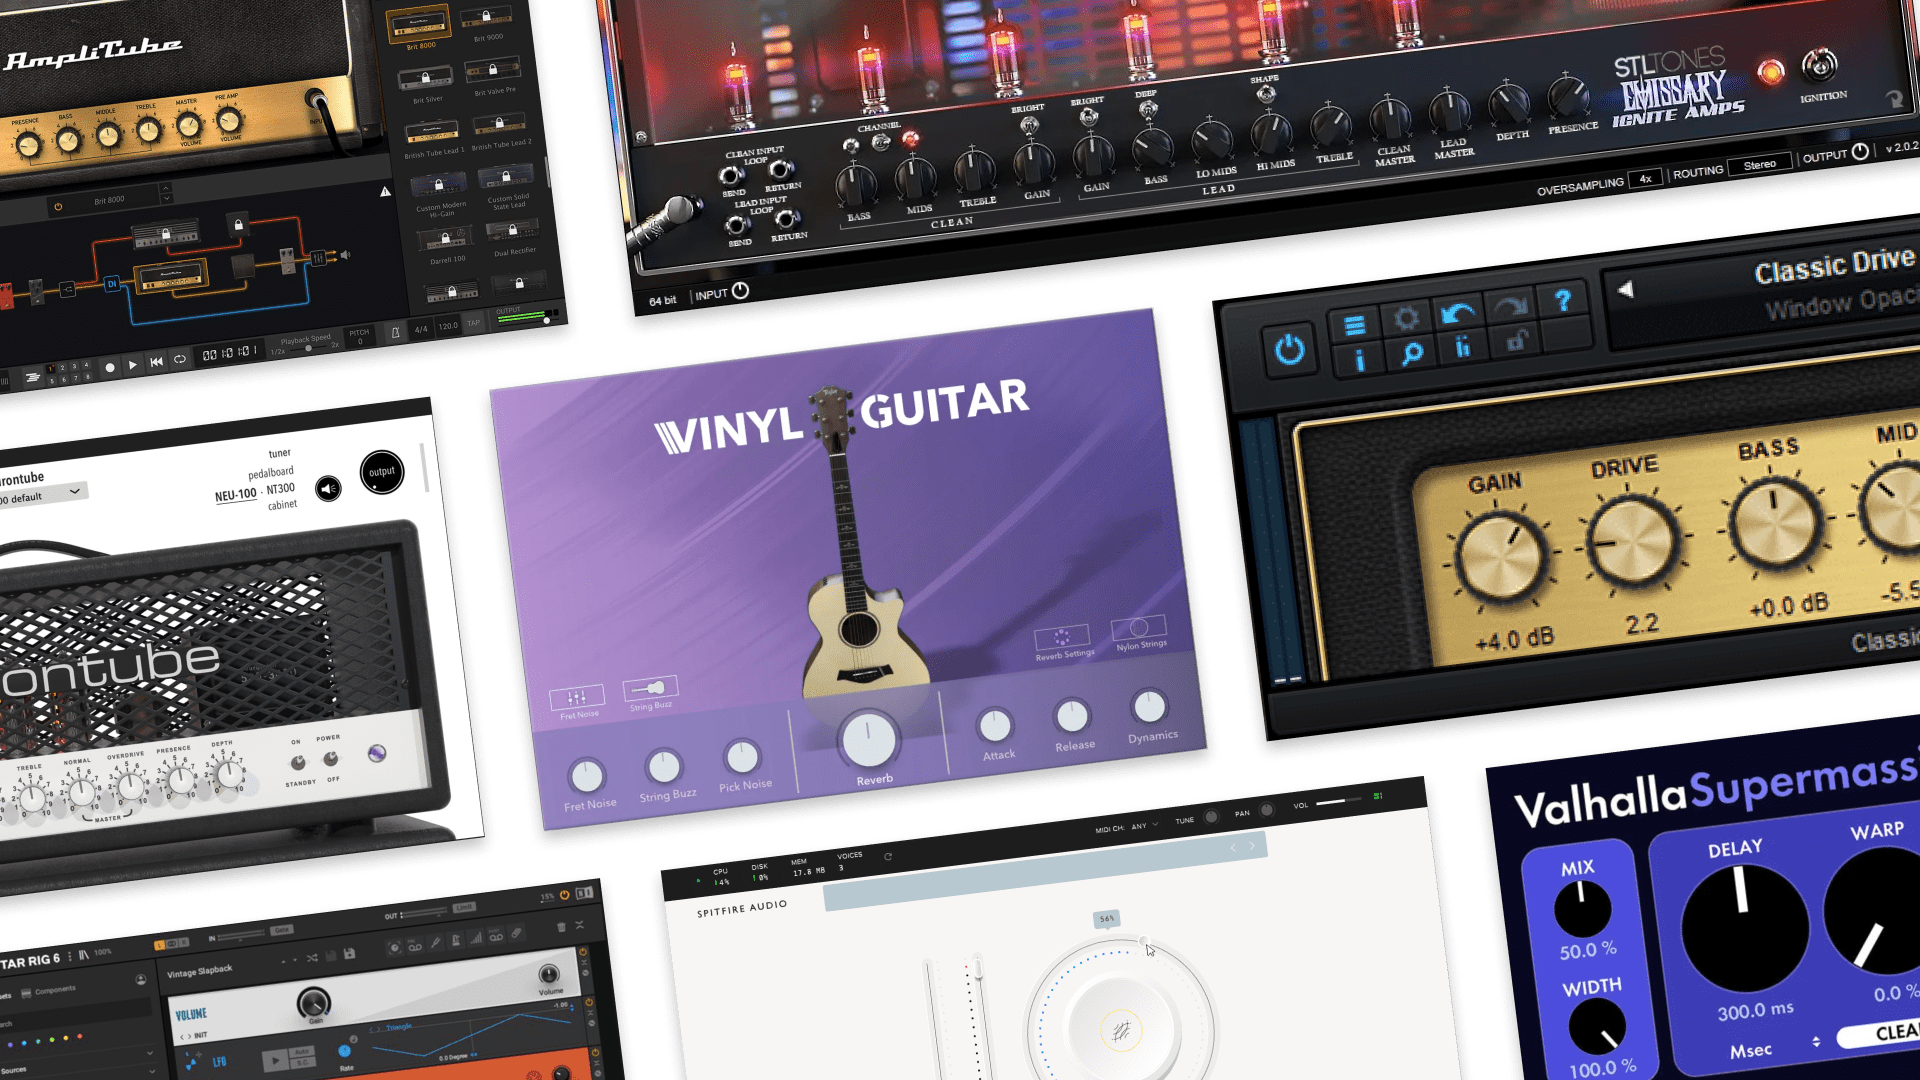
Plugins are an incredible way to improve the capabilities of your DAW. They come in many forms—instruments, effects, compression, saturation, EQ and more.
The cool thing about plugins? Many of them are free. That means you can add capabilities to any DAW, no matter which one you use.
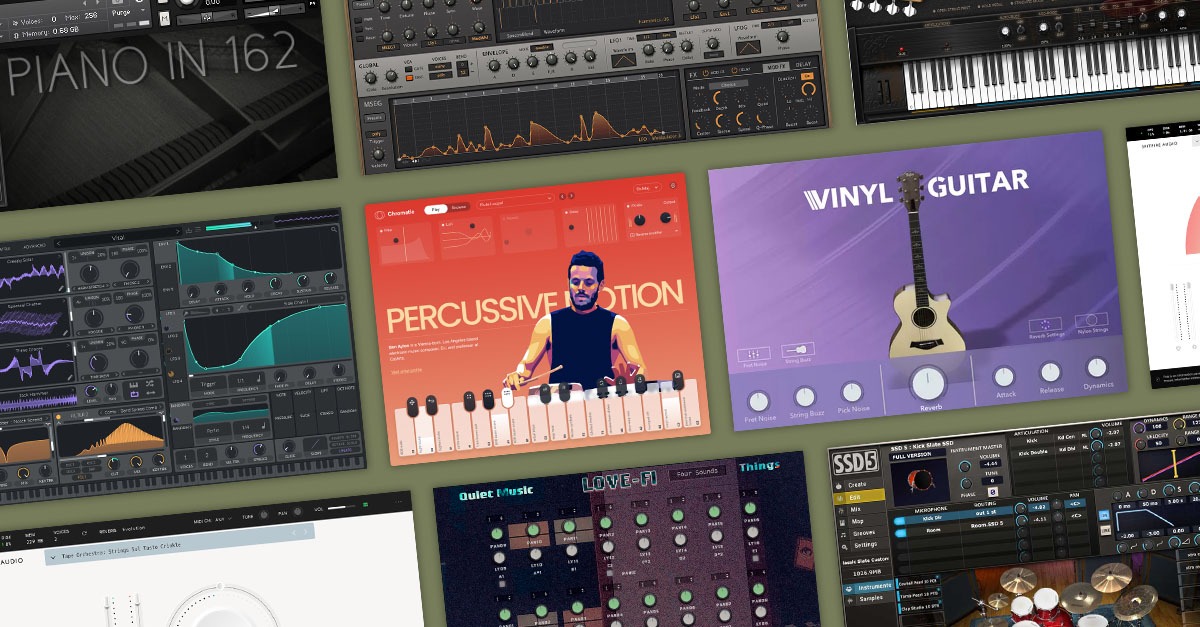
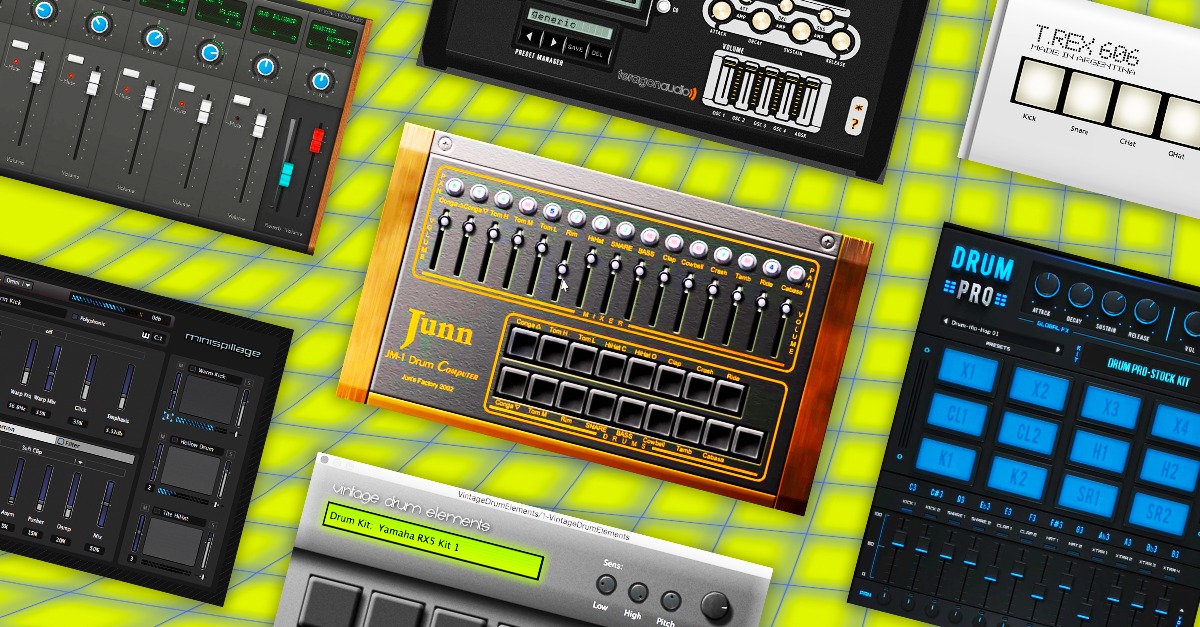
Beat makers should look out for a few kinds of plugins in particular—free synths and drum production plugins that are great for creating new tracks, for example.
If you’re into lo-fi beat making, look for a vinyl emulator, tape saturation, compression and sampling plugins.
We’ve written about lo-fi friendly plugins before too, if you want a guide.
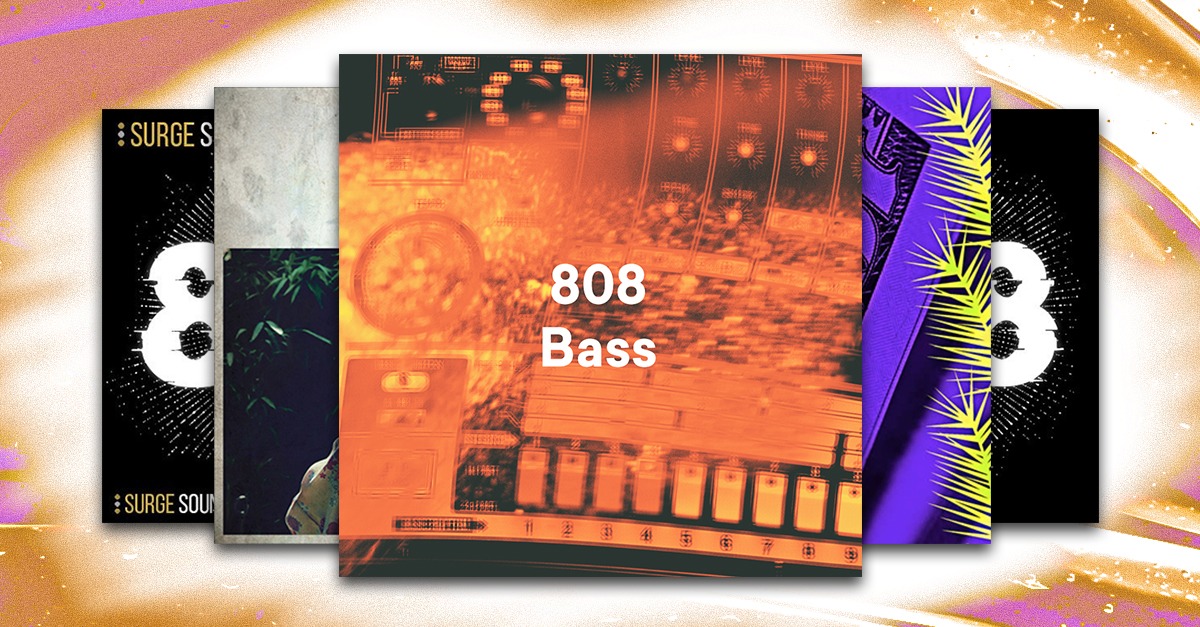
Trap and hip-hop artists might want to look at an 808 sound design plugin like SubLab or Grossbeat.
There’s so many new plugins that are constantly coming out, so don’t be afraid to explore all the free (and paid) plugins out there right now.
Our favorite free plugins
Free plugins that can do everything.
Step 2: Think about the sounds your beat will use
We’ve covered all the tools you need to get started. Now, let’s look at instrumentation.
What kinds of instruments and sounds should you look for and plan to use when making the essential parts of your beat?
Most beats are going to have a few basic elements—drums, bass and low-end, a topline or melody, chords and harmonies and vocal elements.
Of course, that doesn’t mean that this is the only instrumentation you should use in your beats, you should be as creative as you want with the sounds you use.
But, here’s a rough guide for what most beats use.

Matt takes us through his favorite drum patterns.
Drums
Drums are the centerpiece of most beats—drum beat is where the term “beat” comes from after all.
They really define the overall vibe and genre of your beat, so I recommend starting with a plan for what drum sounds, drum patterns and rhythmic features your track will use.
There’s three ways to create your drum beat—finger drumming them in by hand with MIDI pads, programming a beat with a MIDI editor or using a premade drum loop.
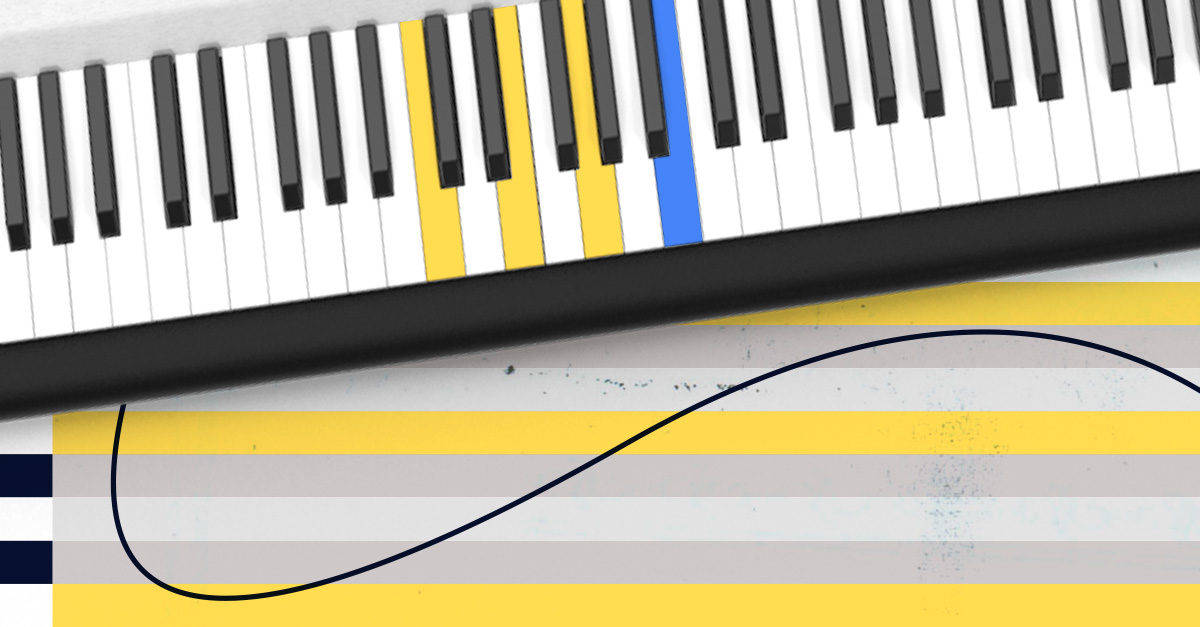
We’ll dive a bit deeper into using a MIDI editor later on, but essentially the tool makes it possible to pencil in drum patterns within your DAW.
If programming a MIDI drum pattern is a bit daunting for you, you can always go with a premade drum loop sample.
These samples make it easy to put an entire drum part straight into your beat and get things going real fast.
You don’t have to do anything other than drop it into the timeline of your DAW and loop it.
Drum production isn’t always easy, but MIDI editors and loops make it a lot easier.
Hot tip:
Bass and low-end
The next most important part of your beat is definitely the bass.
Done right this is the part that will make clubs bounce and cars rattle.
The most important part of getting a good low-end part is understanding how sub-bass and bass frequencies work.
For best results keep your arrangement simple and make sure that you’ve EQ’d the low-end sub-bass frequencies from the bass frequencies.
Not sure how to EQ bass properly? We’ve written about it before, but get in touch with your EQ tools to understand how to get big and chunky bass, especially if you’re using 808s.

Here is a great tutorial from Anthony about producing pristine 808s
Chords & harmonic instruments
If drums and bass are the rhythmic canvas to build your track on, chords and harmonic instruments are the background hue you’ll “paint” your track over.
Much like how Bob Ross might start off a painting with a nice gradient, a well-considered chord progression is the best way to add a colorful background to your track.
There’s a lot of chord progressions to choose from, but don’t be intimidated.
Whether you’re looking for well-loved common chord progressions or lofi and jazz-inspired chord progressions it’s definitely worth getting familiar with some basic chord theory.

Peggy takes us through her favorite chord progressions
Dive into chord progression theory
Inspire new ideas with better chord progressions.
Vocals
Vocals are the painter behind the painting. In other words, vocals add a completely new dimension and level of meaning to your track.
Whether you’re writing pop beats, rap beats, electronic beats and beyond—adding lyrics of any kind will change the vibe of your track.
Using your own vocals is great, but if you aren’t ready to sing or rap over your own track you might want to turn to vocal samples from pro rappers and vocalists to fill out your track.

Top lines and melodies
Keeping the Bob Ross painting analogy going—your top line or melody is the hillside, clouds, skyline, trees and mountains that’ll add definition and sparkle to your beat.
It’s not a rule, but your top-line will most likely fill out the top-end frequencies of your beat.
It’s part of your track that will pique your listener’s ears and cut through the noise.
Melody writing is really hard, but there’s many tips for writing a really good melody.
Generally, picking a key and scale to work within is a tried and true method for melody writing.

Step 3: Work with samples in the right way
We’ve covered all the tools you need to get started. Now, let’s look at instrumentation.
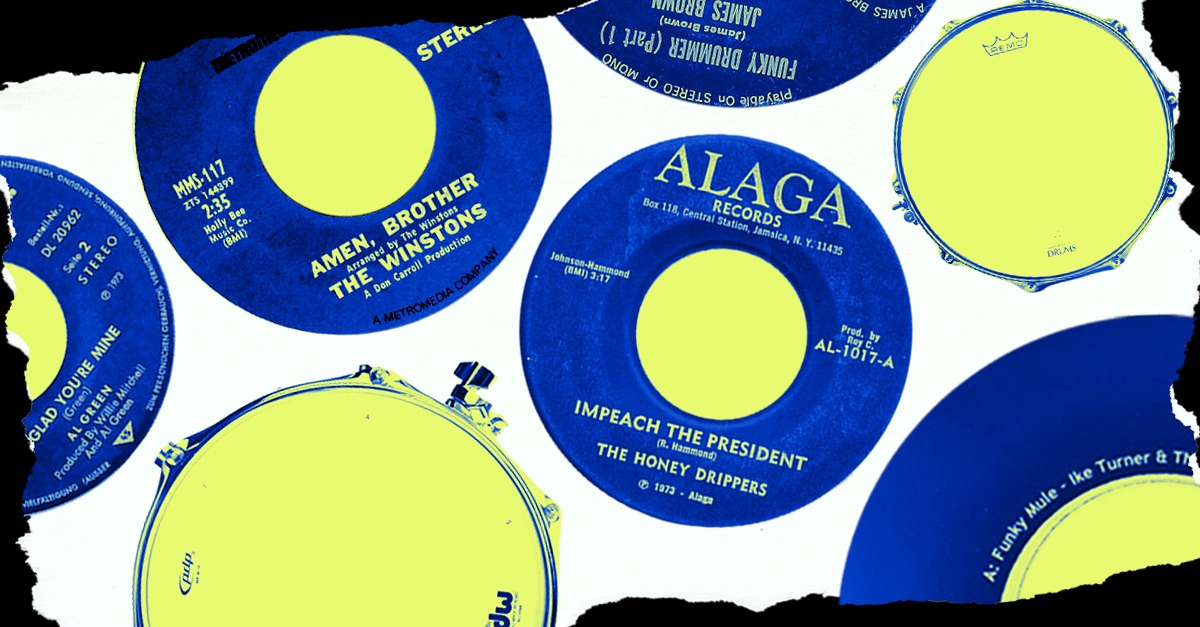
Samples are a huge part of beat making. In fact, producers in the early 90s pioneered the art of beat making with samples from rare soul and funk vinyls.
So much classic 90s rap is built on sampled music, the practice truly changed the course of music history.
But this change came with all kinds of legal and copyright questions. When you sample someone else’s work, who owns the copyright?
Today, to avoid a major copyright issue it’s highly recommended that producers use royalty-free samples from a sample market place.
LANDR Samples is one example of a samples marketplace where you can find millions of unique and exclusive samples to use royalty-free in your track.
But beyond the copyright concern, there’s a few production methods you’ll need to master when using samples in your music.
Sample chopping and flipping
Chopping and flipping your samples takes the simple act of dropping a sample into the time to the next level.
Chopping, reversing, speeding up or slowing different parts of a sample is a great way to find unique and overlooked sounds, especially when you start adding effects.
Using a sample chopping plugin like Ableton Simpler makes it super easy to chop a sample into equal spaces and then sample them on a MIDI keyboard or controller.
This incredibly fun sampling technique emulates that classic MPC sampling workflow and opens up so many creative possibilities.
Take an afternoon and give it a try with some sensual Rhodes keys samples or a super fast break beat and you’ll see what I mean.

Timeline sampling
The easiest way to use samples is to simply throw them into your DAW’s track timeline.
This is essentially a drag-and-drop method that lets you arrange and click together samples.
Timeline sampling is the easiest to visually collage your samples together.
Just make sure you mix your samples into the rest of your mix properly, since you’re likely pulling from all kinds of different recordings and things won’t sound uniform if you don’t

Sample flipping master, Lil Soy Sauce, imparts his knowledge
Step 4: Sound design and synthesis for beat making
While samples are a staple of beat-making, developing your own sounds can truly set your beats apart from the rest.
Sound design and synthesis are important skills that allow you to craft unique sounds that define your signature style and take your sound to the next level.
Understanding synthesis
Synthesis is the process of generating sound using electronic hardware or software.
There are several types of synthesis, but for beginners, subtractive synthesis is a good place to start.
This involves starting with a rich, harmonically complex sound wave (like a sawtooth or square wave) and using filters to subtract frequencies and shape the sound.
Many classic and modern synthesizers use this form of synthesis.
Understanding the basic components of a synthesizer can greatly aid your sound design journey.
Here are the main elements you’ll encounter:
- Oscillator: This generates the raw sound (often a simple waveform like a sine, square, sawtooth, or triangle wave) that you’ll shape with the other components.
- Filter: This is used to remove certain frequencies from the sound, shaping the timbre.
- Amplifier (or VCA): This controls the volume of the sound, often modulated by an envelope.
- Envelope: This shapes the evolution of the sound over time, affecting parameters such as volume, pitch, or filter cutoff.
- LFO: The Low Frequency Oscillator is used to create periodic changes in sound, like vibrato or tremolo.
Designing drum sounds
Creating your own drum sounds is a rewarding process that can add a unique character to your beats. Let’s go over the basics of synthesizing a kick and snare drum sound:
Kick: Start with a sine wave on an oscillator. Use an envelope to control the pitch of the oscillator, starting high and quickly dropping to a low frequency, imitating the ‘thump’ of a kick drum. You can also use an envelope to control the amplitude, starting loud and decaying quickly.
Snare: Snares are slightly more complex. The ‘body’ of the snare can be synthesized with a short, high-pitched tone, while the ‘rattle’ can be created with noise. Use separate envelopes for each component to control their volume over time.
Using synthesizers in beat making
Synthesizers aren’t just for melody and harmony; they can also be used to create rhythmic elements in your beats.
You can sequence short, percussive synth sounds to add a melodic element to your rhythm section.
Get creative and experiment with different waveforms, filters, and envelopes to create a wide array of sounds.
Step 5: Arrange your beat into a song
Starting with a loop and building up ideas over a drum part is great but that’s not a song.
To take your song from a looped idea, you need to make some arrangement decisions.
That might sound easy, but for many producers arranging is one the most difficult parts of beat making.
My advice is to start thinking about song structure to choose a format to arrange your beat around.
We’ve written about song structure before, but having distinct sections like a chorus, verse and bridge makes it easier to plan build ups, write lyrics and give your track direction.
Step 6: Use production techniques to clean up your track
Once you’ve mastered your beat making process, you might want to learn a handful of basic music production techniques.
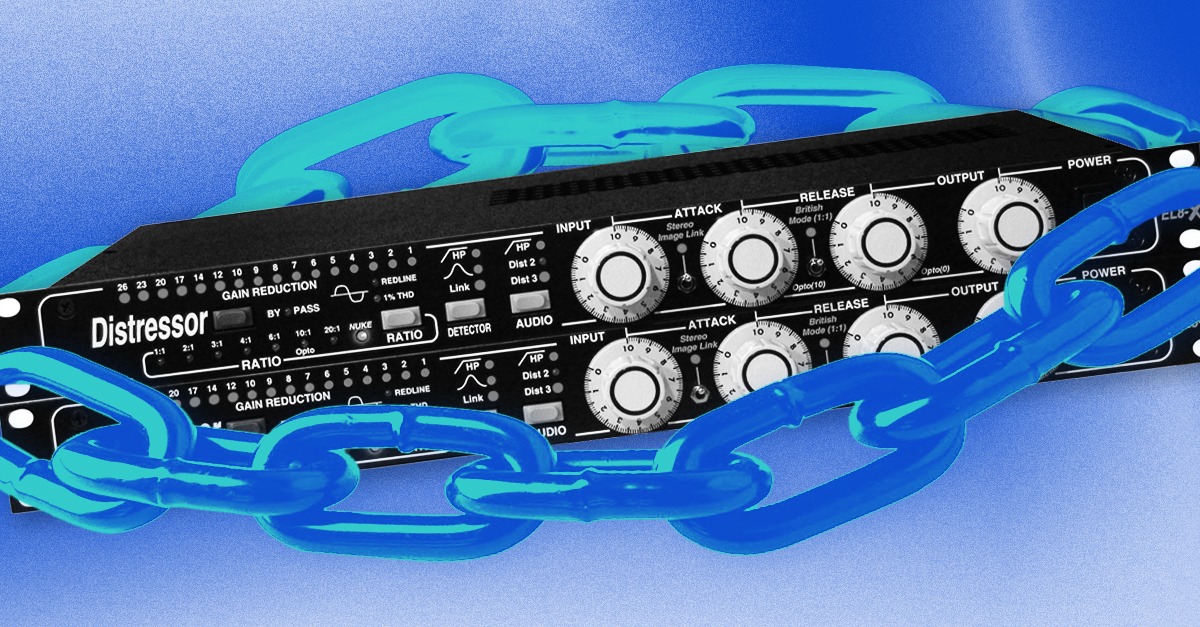
Learning how to add effects like side chain compression, tape compression while applying basic EQ to your track will make all the difference when getting close to a final product.
There’s so many production techniques to learn—mixing, EQ, compression and more.
But here’s a few specific production tools most beat makers use today.
Sidechain compression
Have you ever noticed the way some tracks seem to bounce every time the kick hits? That’s sidechain compression.
If you don’t get what I mean just check out this video and you’ll see what I mean. You’ll start noticing it everywhere.
Sidechain compression is tried and true way to add some movement and dynamics to your track. It also helps your kicks shine through the mix.
You’ll need a decent compressor plugin to do it properly, but once you start playing around with it in your DAW you hear a huge difference in your track.
Tape saturation
Cassette has a special, nostalgic sound that many beatmakers love to recreate.
In our tape machines article, we go over why cassette tape recordings have such a unique and interesting sound.
But in short, tape saturation plugins make it possible to add that warble and warmth that cassettes are known and loved for.
There’s many tape saturation plugins out there to try, but the RC-20 is a go-to for many beatmakers.

Uncover the history behind the popular genre
Step 6: Finish your first beat and get your track heard!
Okay, your track is sounding good—you’ve composed a beat, arranged it into a coherent piece, and you’ve mixed it and added all the effects you want.
Now it’s time to finish and release your beat.
Master your beat

Mastering unpacked.
Mastering is the last piece of the production puzzle.
It’s essential for making your tracks sound the best they can, no matter where they’re played—whether that be on a car stereo, earbuds or a club system.
You also need mastering to make your music loud enough to compete with other tracks on streaming services.
Your best bet—that doesn’t involve spending hundreds of dollars—is to go with an automated mastering service.
LANDR is the world’s first and best AI mastering platform out there. We’re constantly surprising even the most seasoned pros with how good our masters sound compared to real human mastering.
So if you want a pro master at a fraction of the price, definitely try mastering with LANDR.
Distribute your beat
One last LANDR plug—you need to work with a distribution company to get your tracks on Spotify, Apple music and all the streaming platforms that matter.
LANDR Distribution is preferred partner with Spotify and Apple music—with LANDR it’s quick and easy to get your first single or album up on Spotify.
See what distribution plan works for you and share your finished track with your fans.

Fight beat block

It takes time to get good at beat-making, but with practice and learning there’s no reason why you can’t make something truly great.
In this article, I’ve outlined some tips and tricks for beat-making, but there’s really no rules, so don’t be afraid to throw everything out the window and try something different.
See what works for you but if you get beat block recognize it and take a break, go for a walk and clear your mind.
The simple act of listening closely to music you admire and watching your favorite producers in the studio will absolutely help you learn how different workflows work for different people.
Now what are you waiting for? Go make a beat!
Gear guides, tips, tutorials, inspiration and more—delivered weekly.
Keep up with the LANDR Blog.


![The 250 Best Free VST Plugins Ever [2024 Update]](https://blog-api-dev.landr.com/wp-content/uploads/2021/08/247-FREE-VST-2021-Update.jpg)
