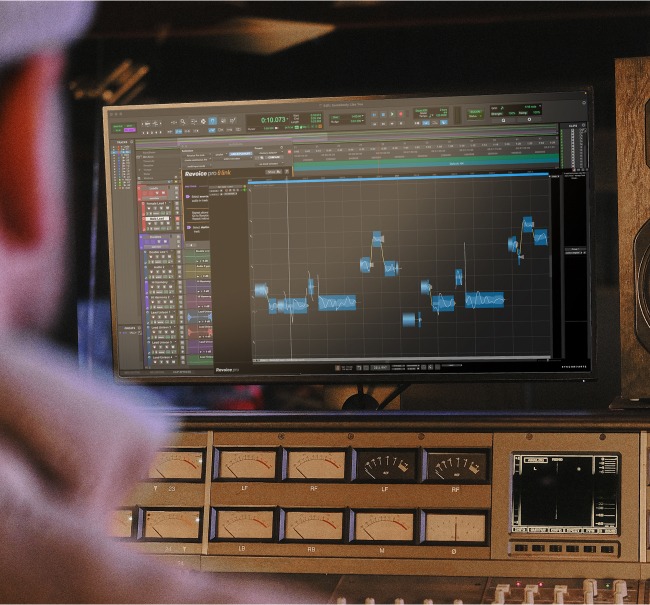
Editing Vocals: How to Build the Perfect Take in Your DAW

Editing vocals is the crucial step that comes just before mixing in your vocal production workflow.
Good editing is essential to a polished vocal sound. It’s the process that cleans up all the issues in a raw track so they’re ready to be mixed loud and upfront in a song.
But vocal editing can be frustrating. It takes time and there are lots of small details to get right.
Even so, it doesn’t have to be intimidating. Editing vocals is easy as long as you understand the basic concepts behind it.
In this article I’ll go through everything you need to know to get a perfect vocal edit.
1. Create a comp track to build a take
You might think that the pros can lay down a perfect vocal in one effortless take.
It’s not an impossible feat, but it’s much more likely that the finished vocals that you hear on a release are the result of careful comping.
Comping vocals means recording multiple takes and editing them together to find the best moments.
It’s an important skill to know when it comes to vocal production.
The comping workflow is different in each DAW, but the basic idea is the same.
Here are the fundamentals of how comping works:
- Record each new take onto the same track using your DAW’s take folder, comp lanes or playlists feature
- Listen through each performance and highlight the best spots
- Promote the best selections to the main take to create the comp
2. Tighten up the timing to fit the groove
Tracking vocals in the studio can be exhausting.
Plenty of singers spend hours in the vocal booth laying down takes.
With that much material, there’s bound to be a fair bit of variation. When singers focus on their pitch and delivery, they sometimes pay less attention to timing.
That means that you may have to make some adjustments as you edit your vocal take.
Use your DAW’s nudge tool to move the slices of your vocal take around in small increments.
Sometimes an adjustment of a few milliseconds is all it takes to make a phrase fit naturally into the song.
Sometimes an adjustment of a few milliseconds is all it takes to make a phrase fit naturally into the song.
Just be careful not to go overboard—you don’t want to accidentally destroy the singer’s unique phrasing by moving every single word onto the grid.
3. Check your edits and create fades
After comping, you’ll have a track with dozens of cuts where you inserted selections from other takes.
That means you’ll have to make sure each edit point is clean and free of pops, clicks or other distracting artifacts.
Listen through your comped take in solo and pay extra attention to areas where the different takes intersect.
Make sure you’re not interrupting any of the vocalist’s breaths or vocalizations between phrases.
Once you’re sure the edits are clear, use your DAW’s fade dialogue to add short (5-10ms) fades to each clip in the vocal track.
These short fades will make clean edits virtually invisible.
4. Manage the singer’s breathing sounds
Singing is demanding physical activity.
Recording a singer up close with a condenser mic means you’ll hear all the effort it took to get the take.
The biggest issue is the sound of the singer’s breathing.
Breath noises are important for making the vocal sound natural. They can even heighten the sense of drama in the take when they’re well mixed.
But too much breath noise can be distracting—especially if the compression and EQ you use during mixing makes it sound louder in the mix. The issue can get even worse after mastering if the vocal is upfront in the mix.
While editing vocals, engineers typically isolate the breaths in the track and turn them down a bit so they don’t take over.
Attenuating the breath noises by about -6dB is a good place to start, but you can reduce them further if you need to.
4. Consolidate the vocal track
Once you’re done comping, shifting, slicing and fading, you might want to keep things more organized.
If you’re confident in your work up to this point you can print your edits by rendering a new audio file that commits your changes.
Depending on your DAW, this operation might be called consolidate or bounce in place.
Consolidating will make your workflow smoother as you move on to mixing, but you won’t have the same flexibility as before.
To fix it you can save a copy of the edited version on a duplicate track, or as another take within the comp folder.
That way you can always go back to the raw edit if you need to make any changes.
5. Use pitch correction to fix mistakes if needed
A nice tidy comp track can still have some issues with pitchiness.
This can happen if the vocalist was struggling or you chose a take with a better delivery in place of a cleaner, less vibey alternative
Luckily, there are plenty of tools that can help you salvage a pitchy take or improve an already solid one.
Pitch correction plugins are sometimes considered controversial, but you don’t have to use them for robot effects.
Gentle pitch correction in only the most problematic areas can work wonders to improve a vocal take.
Just keep in mind that slight variations in pitch are an important ingredient for style and natural feel.
If you flatten out every note you’ll end up with a vocal performance that sounds lifeless and uncanny.
You might be surprised how little you need to do when it comes to pitch correction.
Letter to the vocal editor
Editing vocals seems like a boring technical task. But it’s essential if you want a polished pro vocal sound that you can set loud in the mix.
And there’s still plenty of room to be creative and put your own stamp on the sound during editing.
If you’ve made it through this article you’ll have a strong foundation for how to edit vocals.
Gear guides, tips, tutorials, inspiration and more—delivered weekly.
Keep up with the LANDR Blog.
Latest posts

